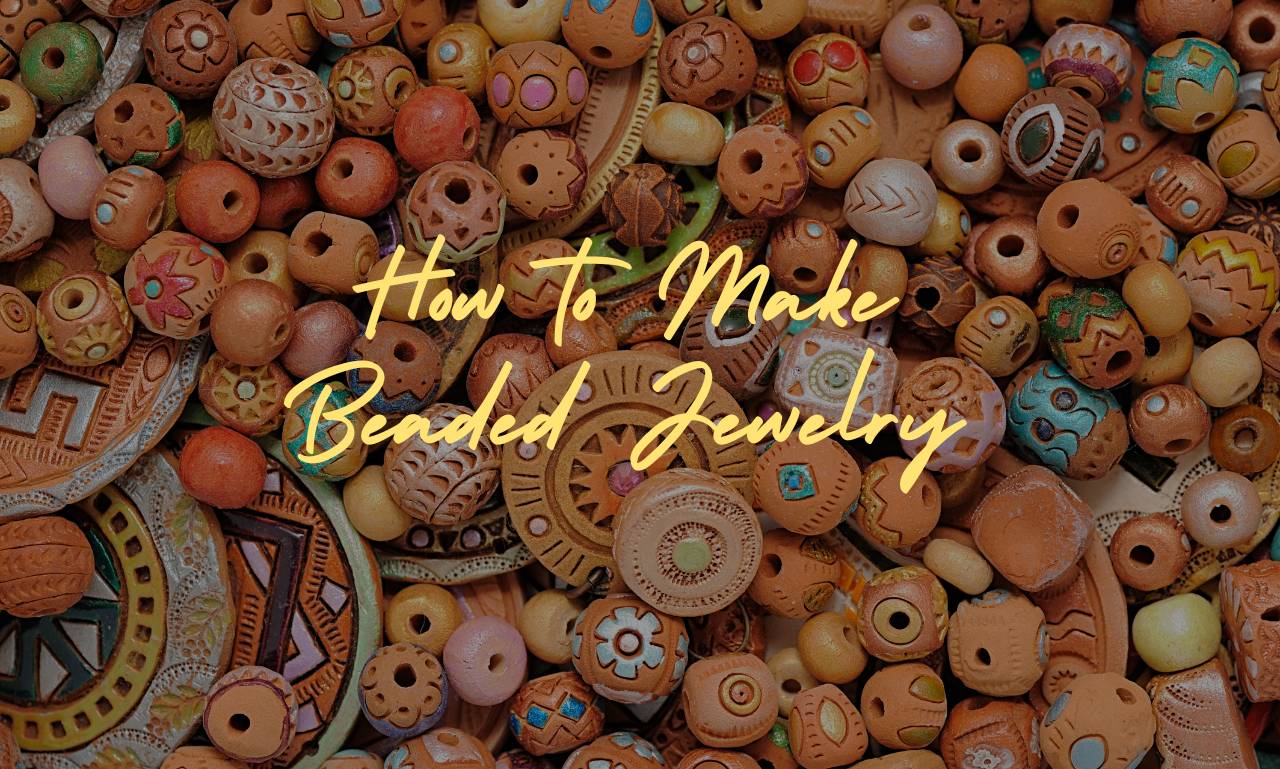
Beaded jewelry making is an art that has been practiced for thousands of years, and is still popular today. It is a craft that allows for endless creativity and personal expression. Beaded jewelry can be made with various types of beads, such as glass, plastic, wood, ceramic, and stone. Beads can be of different shapes, sizes, colors, and textures, and can be strung together in an infinite number of ways.
The beauty of beaded jewelry lies in its versatility. Beaded jewelry can be made for all kinds of occasions, from simple and casual designs for everyday wear to elaborate and ornate designs for special occasions. Whether you want to make a necklace, bracelet, earrings, or a set of all three, the possibilities are endless.
Beaded jewelry making is not only a fun and creative hobby, but it can also be a profitable business. Many people love to wear unique and handcrafted jewelry, and are willing to pay for it. With some basic supplies and a little bit of practice, anyone can create beautiful beaded jewelry.
In the next sections, we will go over the basic materials required for beaded jewelry making, the steps to follow for making beaded jewelry, and some tips and tricks to make your jewelry-making process more enjoyable and successful.
Materials Required for Making Beaded Jewelry
Beaded jewelry making is a fun and creative activity that requires a few basic materials. Here are the materials you will need to make beaded jewelry:
-
Beads
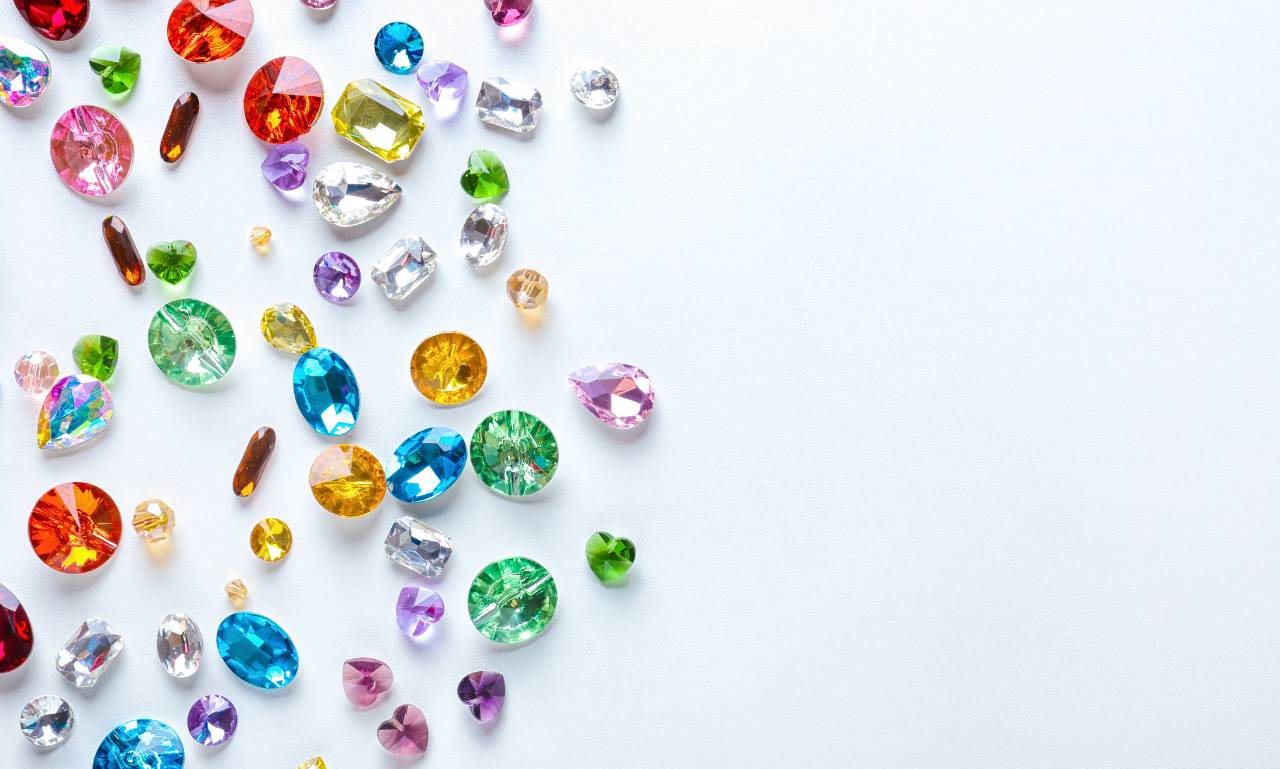
Beads are the main component of beaded jewelry. They come in various sizes, shapes, colors, and materials, including glass, plastic, wood, metal, and gemstones. Choose beads that match your design and personal style.
-
Stringing Material
Stringing materials are used to connect the beads together. There are several options, including wire, thread, cord, and elastic. The type of stringing material you use depends on the weight and size of the beads, as well as the design of the jewelry.
-
Findings
Findings are the hardware used to connect the stringing material and beads together. They include clasps, jump rings, crimps, and ear wires. Findings come in different sizes, shapes, and colors to match your jewelry design.
-
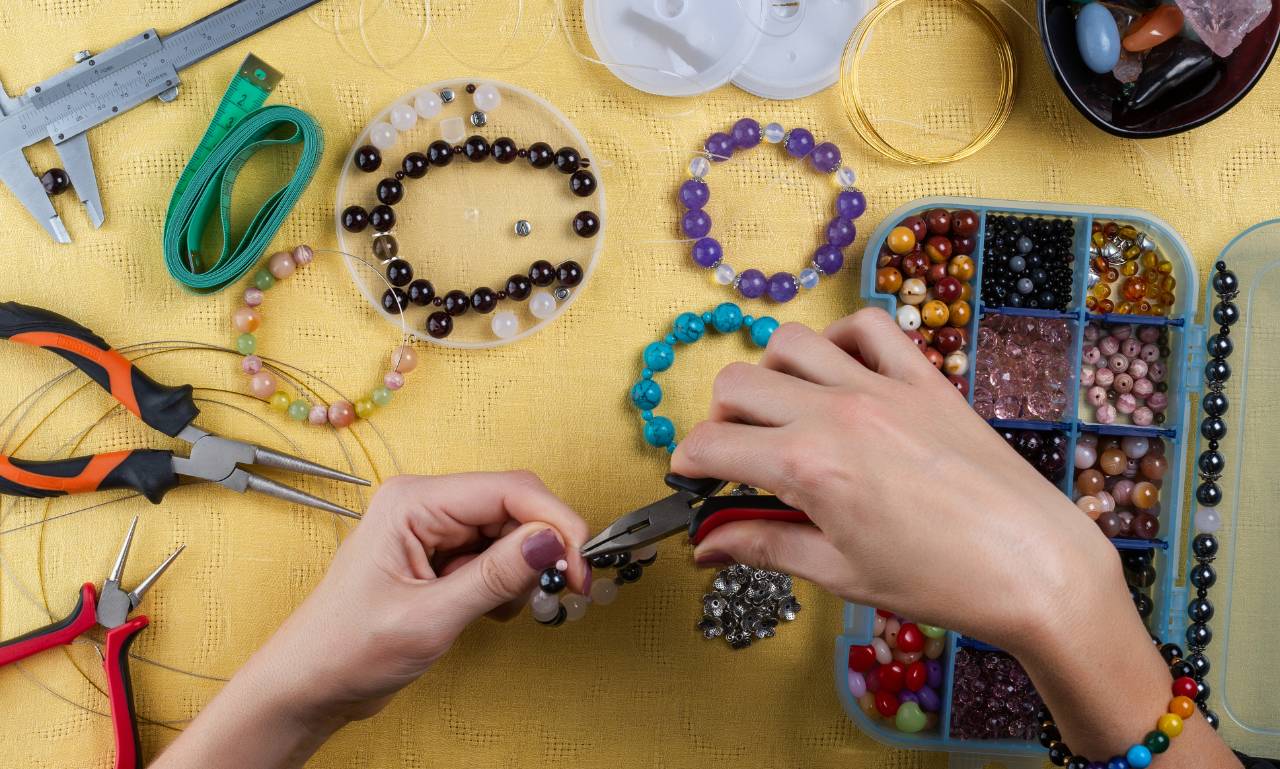
Pliers and Cutters
Pliers and cutters are essential tools for making beaded jewelry. They are used to open and close jump rings, attach clasps, crimp beads, and cut the stringing material. Round-nose, chain-nose, and flat-nose pliers are some of the common types of pliers used in beaded jewelry making.
-
Beading Mat
A beading mat is a non-slip surface that helps keep the beads in place while working on your design. It also prevents the beads from rolling off the table or getting lost.
-
Beading Board
A beading board is a tool that helps in the design process. It allows you to lay out your beads and plan your design before stringing them together.
-
Beading Needles
Beading needles are thin and flexible needles that are used to string beads onto the stringing material. They come in different sizes, depending on the size of the bead and the stringing material.
By having these basic materials and tools, you can start making your own beaded jewelry creations. Be sure to choose high-quality materials to ensure the durability and longevity of your jewelry pieces.
Steps to Follow for Making Beaded Jewelry
Plan your design
- Decide on the type of jewelry you want to create
- Choose your beads and other materials
- Create a sketch or plan of your design
Gather your materials
- Get all the beads, stringing material, clasps, and other components you need
- Make sure you have enough beads for your design
- Choose a beading wire, string, or cord that is suitable for the beads you are using
String the beads
- Decide on the length of your jewelry piece
- String the beads in the desired pattern
- Use crimp beads or knots to secure the beads in place
Add the clasp
- Choose a clasp that fits your design
- Attach the clasp to each end of your jewelry piece
- Use crimp beads or knots to secure the clasp in place
Add finishing touches
- Add any additional beads, charms, or pendants to your design
- Use pliers to create wire loops or jump rings to attach them
Test your jewelry
- Check that all components are securely attached
- Try on your jewelry piece and make any necessary adjustments
Enjoy your new creation!
- Show off your handmade beaded jewelry
- Store your jewelry in a safe and dry place to prevent damage.
Different Beading Techniques
Stringing Technique: The most basic and popular technique, in which beads are strung onto a string or wire to make a necklace, bracelet or earrings. This is the easiest way to get started with beading.
Wire Wrapping Technique: This is a technique where the wire is used to create a frame around a bead or a set of beads. The wire is bent and twisted to create a unique and artistic design.
Peyote Stitch Technique: This is a bead-weaving technique in which beads are sewn together to form a pattern. This is a more complex technique that requires patience and practice.
Brick Stitch Technique: This is another bead-weaving technique in which beads are stitched together in a brick-like pattern. This technique is often used to create detailed and intricate designs.
Spiral Rope Technique: This technique creates a spiral pattern that can be used to create necklaces, bracelets, and earrings. The spiral is created by stringing beads in a circular pattern.
Herringbone Stitch Technique: This is another bead-weaving technique that creates a herringbone pattern. This technique is often used to create intricate designs and patterns.
Fringe Technique: This is a technique in which beads are strung on multiple strands of thread, and the strands are then tied together to create a fringe. This technique is often used to create tassels or to add decorative elements to a piece of jewelry.
Each of these techniques requires different skills, tools, and materials. However, with practice and patience, anyone can learn to make beautiful and unique beaded jewelry using these techniques.
Tips and Tricks for Making Beaded Jewelry
Choosing the Right Tools and Materials:
Choosing the right materials and tools for making beaded jewelry is essential. Make sure you have quality beads, wire, pliers, and crimps, and other tools to make your jewelry look professional.
Practice the Basics:
Before starting complex designs, practice basic techniques such as knotting, stringing, and wire-wrapping to build your skills and confidence.
Plan Your Design:
Before starting to bead, plan your design, and have a clear picture of what you want to create. Sketch or create a template of your design so that you have a clear idea of the outcome.
Use a Bead Board:
A bead board is a helpful tool that allows you to plan and design your jewelry and help you determine the length of the piece before you start beading. This tool makes the beading process easier and faster.
Choose Colors Wisely:
Choose colors that complement each other or contrast well to make your jewelry look attractive. Use a color wheel to help you pick complementary colors.
Don’t Be Afraid to Experiment:
Be creative and experiment with different shapes, sizes, and materials. Try out different patterns and techniques to discover what works best for you.
Pay Attention to Detail:
Pay attention to detail and make sure your jewelry looks neat and professional. Use a magnifying glass to check your work and make sure that the beads are securely strung.
Make Use of the Internet:
The internet is a valuable resource for learning new techniques and getting inspiration for your designs. Watch tutorial videos, join forums, and follow online beading communities to learn more about beading.
Take Breaks:
Beading can be a tedious and time-consuming process. Take frequent breaks to avoid eyestrain, fatigue, and muscle cramps.
Remember to take your time, practice your skills, and enjoy the creative process.
Care and Maintenance of Beaded Jewelry
Whether it’s a simple necklace or a complex bracelet, beaded jewelry requires special care to ensure that it remains in good condition for years to come. Proper maintenance of your beaded jewelry will help prevent it from becoming tarnished or damaged.
Storing Your Beaded Jewelry:
Proper storage of your beaded jewelry is important for preserving its beauty and quality. Be sure to store each piece of jewelry separately to prevent tangling or scratching. You can use individual pouches or plastic bags for storage. Additionally, avoid exposing your beaded jewelry to direct sunlight or heat, as this can cause fading, discoloration or deformation.
Cleaning Your Beaded Jewelry:
Regular cleaning is essential for maintaining the quality and appearance of your beaded jewelry. To clean, gently wipe each bead with a soft cloth or a gentle soap and water solution. Avoid using abrasive cleaners or brushes, as they can damage the beads. Rinse with warm water and dry with a clean cloth or towel. For more stubborn stains, a small amount of rubbing alcohol can be used to clean your beaded jewelry.
Protecting Your Beaded Jewelry:
To protect your beaded jewelry, it is important to avoid wearing it while doing activities such as swimming or showering. Additionally, avoid exposing your jewelry to harsh chemicals, such as perfumes, hairsprays, and lotions, as these can cause the beads to discolor or deteriorate.
Re-stringing Your Beaded Jewelry:
Over time, the thread or wire that holds your beaded jewelry together can wear out or become stretched, resulting in breakage or loss of beads. To prevent this, consider having your beaded jewelry professionally re-strung every few years. This will help to maintain the quality and longevity of your jewelry.
Proper care and maintenance of your beaded jewelry is essential for preserving its beauty and quality. By following these simple guidelines, you can ensure that your jewelry remains in excellent condition for many years to come. Remember to store your jewelry properly, clean it regularly, protect it from harsh conditions and chemicals, and have it re-strung when necessary.
Conclusion
Making your own beaded jewelry can be a fun and rewarding experience. With the help of this step-by-step guide, anyone can create beautiful pieces that reflect their personal style and taste. By selecting the right materials and tools, planning your design, and following the instructions carefully, you can create beaded jewelry that is unique and one-of-a-kind. From simple beaded bracelets to intricate necklaces, the possibilities are endless. So, if you are interested in exploring the world of beaded jewelry making, give it a try and discover the joy of creating something beautiful with your own hands.